ABOUT SHIMA SEIKI AND MY ROLE
Shima Seiki was founded by Masahiro Shima on July 13th, 1961. Since his resignation within recent years the company has appointed his son, Mitsuhiro Shima, director of the company, while Masahiro Shima has stepped down to the title of chairman. The United States branch is looked over by Shima Seiki’s US branch President, Seiichi (Senna) Nakaya. This is where most of our selling of machines takes place. While Senna is the president of the United States branch, he travels between Japan and the United States. Beneath Senna, is the Vice President of the United States Branch Matthew Llewellyn who interviewed me for my internship position and is stationed at the New Jersey location. At the Los Angeles office there are two programmers and two designers named that I worked with. At the beginning of every week I was given daily tasks that I report back to them with by every Friday. I was given a structured schedule for each week, providing as much detail into each day to see specific meetings with clients, training days with designers, shipments and sample inventories to be documented, and project due dates to be completed. My position as an intern never limited me from having interaction with our clients.
The production and product development of the machines we sell to our clients occurs overseas in Wakayama Japan. While some selling does happen in Japan, the United States is where Shima Seiki makes most of their sales of machines. In the LA showroom location, product and design development of client’s merchandise takes place, sample shipments from our other locations are sent in, and programmers do one on one lessons and demonstrations with clients.
While I am a graphic design major, and architecture minor, I have an interest in industrial design and innovation methodology which is one of the many reasons why I wanted to intern for this company. Soft goods is used fairly often in industrial design. Automotive, interior, and product designers have to think about textiles during the production stages of their product. How they fit, what the strength of the textile has to be, etc. Shima launched the digital stage of textile manufacturing, which is why they are number one in the industry. Their patented APEX3 computer uses a software called SDS-ONE to design garments and other textile products in one piece out of their many machines. With one computer, it can serve up to ten machines. This reduces the cost of long term payment Shima Seiki sells their machines to designers and big label companies so they can produce their garments and other products quickly, efficiently, and with very little work loss. Shima Seiki currently manufactures twelve computerized flat-bed knitting machines, five whole garment machines, four glove and sock knitting machines as well as a plethora of machine models that are out of production.
Shima Seiki’s success stems from the appeal in the benefits that they offer to both textile manufacturers and consumers. With the use of the machines we manufacture companies can become less labor intensive. The typical way of producing garments is through the use of multiple machines that each produce a part of the garment such as the sleeves or the body. With this method there are some disadvantages. One is that by producing garments this way, the design and development process are extended a lot longer than they need to be. The use of multiple knitting machines calls for at least one person to operate each machine, with which allows for human error. The use of integrated knit programs and machines, there are less variables that lead to errors. Work loss is another disadvantage that will can be avoided with quality control as well as taking up too much space in a factory. With the use of Shima Seiki’s machines, these disadvantages are eliminated. Instead of most industrial textile/knitting machines that have two needle beds, ours have four, which allow garments to be produced much faster. Since our machines are run according to programs off the APEX you will only need one programmer for every ten machines. This eliminates the need for a large factory space with a bunch of workers as well as the work-loss created by using a more conventional machine. In addition to the manufacturer benefits there are also benefits to the consumer, with lightweight, ergonomic, stretchable, eco-friendly garment material.
We also offer training for designers who aren’t familiar with the new software in our offices in the U.S and classes in Shima’s factory in Japan where all of the machines are made. Most of the time when a client comes in, they don’t have a lot of knowledge on the kind of programming that goes into the machines we manufacture. Hands on lessons with our specially trained programmers are offered with each purchase. Also, if a client of ours has trouble with one of our machines we offer over-the-phone support for trouble shooting, but also can send programmers to the client’s location to help in person if the problem isn’t solved over the phone. I have been lucky enough to spend time with some of the programmers we have that service those machines which is part of the reason why I have been able to learn so much about them.
These kinds of services make us more reliable and a better choice when compared to our rivals. One of our competitors in the textile industry called STOLL, is a German manufacturer that is situated in Europe, but has American clients. This is a disadvantage for them as they can only offer three solutions to problems with their machines. One is over the phone support, which while it can be effective, is not always the best approach. Another is to have the machines shipped to Germany to be worked on, and the final, in very rare cases is to have a machine specialist come to the factory to fix whatever problems are apparent.
One of the many amenities of getting to intern at Shima Seiki is not only that I get to be exposed to graphic and industrial design, but I get to witness the entire design process for certain companies, from start to finish. Various companies come to our office to seek guidance on how to approach the design process of certain products that they look to create. Often times I’m given the opportunity to sit in on these meetings and learn how we interact with our clients to serve their needs in the most effective way possible. While most of the companies that come to us are guarded by NDA’s (non disclosure agreements), we can serve the purpose of starting the design development process for their products if they come to us with a rough idea of how they want the product to look.
After our clients give us an idea of what they want their product to look like, our programmers use the APEX’s SDS-ONE software to begin the prototyping stage of the design process, which has always been one of the most interesting parts of design for me. When we prototype, we don’t spend time creating an entire garment. Prototyping in design is used to develop one’s ideas further by seeing them in true form as they are created, and to provide assurance with relatively speedy crafts. Programmers create swatches when prototyping soft goods, so they don’t have to waste time creating the entire intended garment. Swatches are pieces of knitted wear that are made solely for the purpose of analyzing the knit structure of the garment to make sure that the texture and patternmaking is what the entire garment should look like. Stitches are not just for the aesthetic appeal of an item, they also control effect the comfortability of the product. Whether something will be rough or soft against your skin is a factor that can be changed through the type of stitch that one chooses to make the garment with. Elements such as how tight or loose the item fits around or molds to somebody’s body can also be changed through stitching variables but also depend on the type of yarn used. Detail is incredibly important in this process. Soft-goods is an extremely malleable and interactive material, so when we help designers prototype their designs they want to be able to see the how stretchy the material is, and how much it can mold to your body. Color and texture are other important components of swatches. Many swatches will not be one solid color, involving two or more colors, some only becoming visible when the garment becomes tightly stretched.
It was fascinating to see the amenities of the software in real business situations with big name companies. Being able to create the products in explicit detail with speed revolutionizes the product development stages of the design process as it allows decisions to be made faster. Clients can see exactly how one of their soft goods products is going to look even before it comes out of the machine, eliminating the trial and error stages of fitting.
Some of my daily tasks I have are more generic, such as answering the company phone and directing calls, sort and manage files, creating sample loan agreement forms, overseeing mail deliveries packages and couriers, and assisting in the preparation of information and research materials, as well as many other duties. One of the biggest ongoing projects I’ve had so far has been creating the LA Sample inventory. This allows the company to keep track of what is in the showroom at all times. It shows the item and style number of every good, the machine they were produced on and the gauge used to knit the material, the color of the garment and the quantity of it. It also shows the specific location of every soft good. Whether it is in the backroom in storage, what box number it is, or if its on a mannequin, or a clothing rack, and what rack specifically that its on. This way items can be pulled easily from the stock when we discard them from the worksheets or can be accessed as soon as they are looked up in the listing when a client gives us the style number to look up. The list of items manufactured also serves another important function. It displays who borrowed what item and the date it was borrowed and returned. Some of our clients hold on to our samples to look at approaches to the items that they look to produce, getting ideas from the texture and pattern of the garment. Clients look at knit structure, the fabric used for the style, patterning on the garment as well as the gauge used. However, during my internship I have also learned basic knitting structure, basic SDS-ONE software functions, (including the 3D Modelist portion), training in various programs utilized to design products, and assisted with the product development process. In addition to all the new skills I’ve learned, I was also given the opportunity to exercise the knowledge I already have gained in school through my various graphic design courses. I used the Adobe creative suite to edit images and organize and format documents.
DESIGNING GARMENTS DIGITALLY
The system’s design process begins with planning. When clients or our trained programmers use the software to create fashion drawings and illustrations they set the guidelines through digitalized sketches for what they want the style of the garment to look like. The program’s interface responds similar to the program Sketchbook pro when completing this task, due to the frequent use of the drawing tablet and comprehensive tools on screen. This stage of the planning process is known as design drawing. Most of our clients may have an idea of what they want their product to look like, so the design drawing process isn’t always so long. With the figure of the design completed, it can be seen how the designers want the product to fit the user, which is when they can begin to focus on the design of the actual product. Once the initial drawing is completed, tools can be chosen to offer ways of altering the initial design further, such as color concepts and specification sheets.
The design process is further developed through the utilization of tools in the design stage. After the shapes of the garments have been decided, more specific alterations can be added within this stage. Much like photoshop, designers can apply knit and weave textures to the virtual product with the application of the colorways tool to make designs appear more realistic. The ultimate goal when designing on screen is to get the product to look as much like what it should when it comes out of the machines so there are no surprises. If something made on the machines comes out differently than originally intended, the programmers need to find what went wrong with the machine in order to make that happen, and then service the machine before trying to reproduce the same garment again. Sometimes when making swatches on the machine the needles will need to be adjusted. In this case the machine needs to be shut off and the needles have to be pushed back into place. There are also times during the production process where needles will break, in which case the machine is stopped and a replacement needle is put in place where the broken one used to be. Another tool used in the design stage is the design database where useful patterns for garments are stored and can be pulled for application, as well as the repeat tool which is used to duplicate selected patterns on products. Similar to the design database, the textile software can also be used to create different types of patterns on garments, such as check, double weave, and dobby. It can also simulate woven images. With the embroidery tool, realistic simulations of detailed embroideries can be created. Source images and effect filters can also be applied to give the design a more finished look.
Further modifications can be applied to the virtual products during the PGM stage. This is also known as pattern making, grading and marking, which are three very important steps to the design process when using the SDS-ONE APEX3. All fashion begins with marking. A marker or “pattern block” is the basic shape of a sized garment. The shape of that garment is then taken and molded to a fit model. Marking virtually allows designers to start their garment-creating process more efficiently, without having to actually produce something and risk error.
Patternmaking is essential for quality shaping and Whole-garment knitting. Patterns are the repeated structured orientation of the stitches that make up the garment. The SDS-ONE APEX3 serves as a full featured apparel CAD system complete with PGM to fine tune the virtual soft goods. With the pattern making tool high quality and detailed patterns can be created easily and quickly. User friendly drawing and editing functions enable the user to have comfortable control during the patternmaking process. With the grading tool, the size of garments and other soft good products rendered on the APEX, can be adjusted through specific measurements that can be plugged into comprehensive tools such as the line check-and automatic pitch calculation. Larger shirts can be selected and scaled down to a smaller size of the same style, making an efficient way to create multiple sizes for the same style product. Measurements will also snap to grid points for quick and accurate alterations.
During the knit-programming stage of the design process, more detailed modifications can be made to the knit structure of the soft good being created. This can be done through the utilization of tools such as Knit CAD, loop edit, package software, and automatic yarn carrier settings. Knit CAD is where the structure of knitted garments are created. Similar to AutoCAD the interface is gridded and command based but also gives you the opportunity to create styles manually or chose from ones that already exist. Programmers can select, then drag and drop from each icon at the bottom of the window the stitch they want into the gridded squares to build their design. Every design is worked on in a DAT file, where each stitch can be chosen and put on the grid individually if needed to offer the designer maximum control. A DAT file can store and transport both large and small amounts of data and is usually only accessed through the design suite. This way, designers can transport entire styles of garments at one time. In addition to DAT files, there are three other different types of work files that designers use on the APEX3. QFD files, or “Quality Function Deployment” files are also used in order put the styles of the garments created during the design drawing stage into the database of the APEX3 software as measurable data. In other words, it takes the required conditions of a style established by the user and makes the data already placed through the shape into something that can be defined within the parameters of a gridded window. Digital knitting and stitch placement is done from the bottom of the item up in order to have an opening in the bottom without a seam. Loop edit is another tool within the interface that stores structured knit patterns in a database that can be pulled and applied to other styled garments. Package software allows for styled garments of Shima Seiki’s soft goods to be stored in an online database where users can select them and develop them further. The automatic yarn carrier setting is a tool used to apply basic colors and knitting types once the design has been determined. All of these tools help the production process of textile goods go more smoothly and efficiently.
PROTOTYPING MY LOGO USING TEXTILES
At the end of my internship I was given the opportunity to create my own textile designs on the MACH2XS. I went with a variety of stitch set ups ranging from single knit, to tubular knit.
Single Knit Swatch
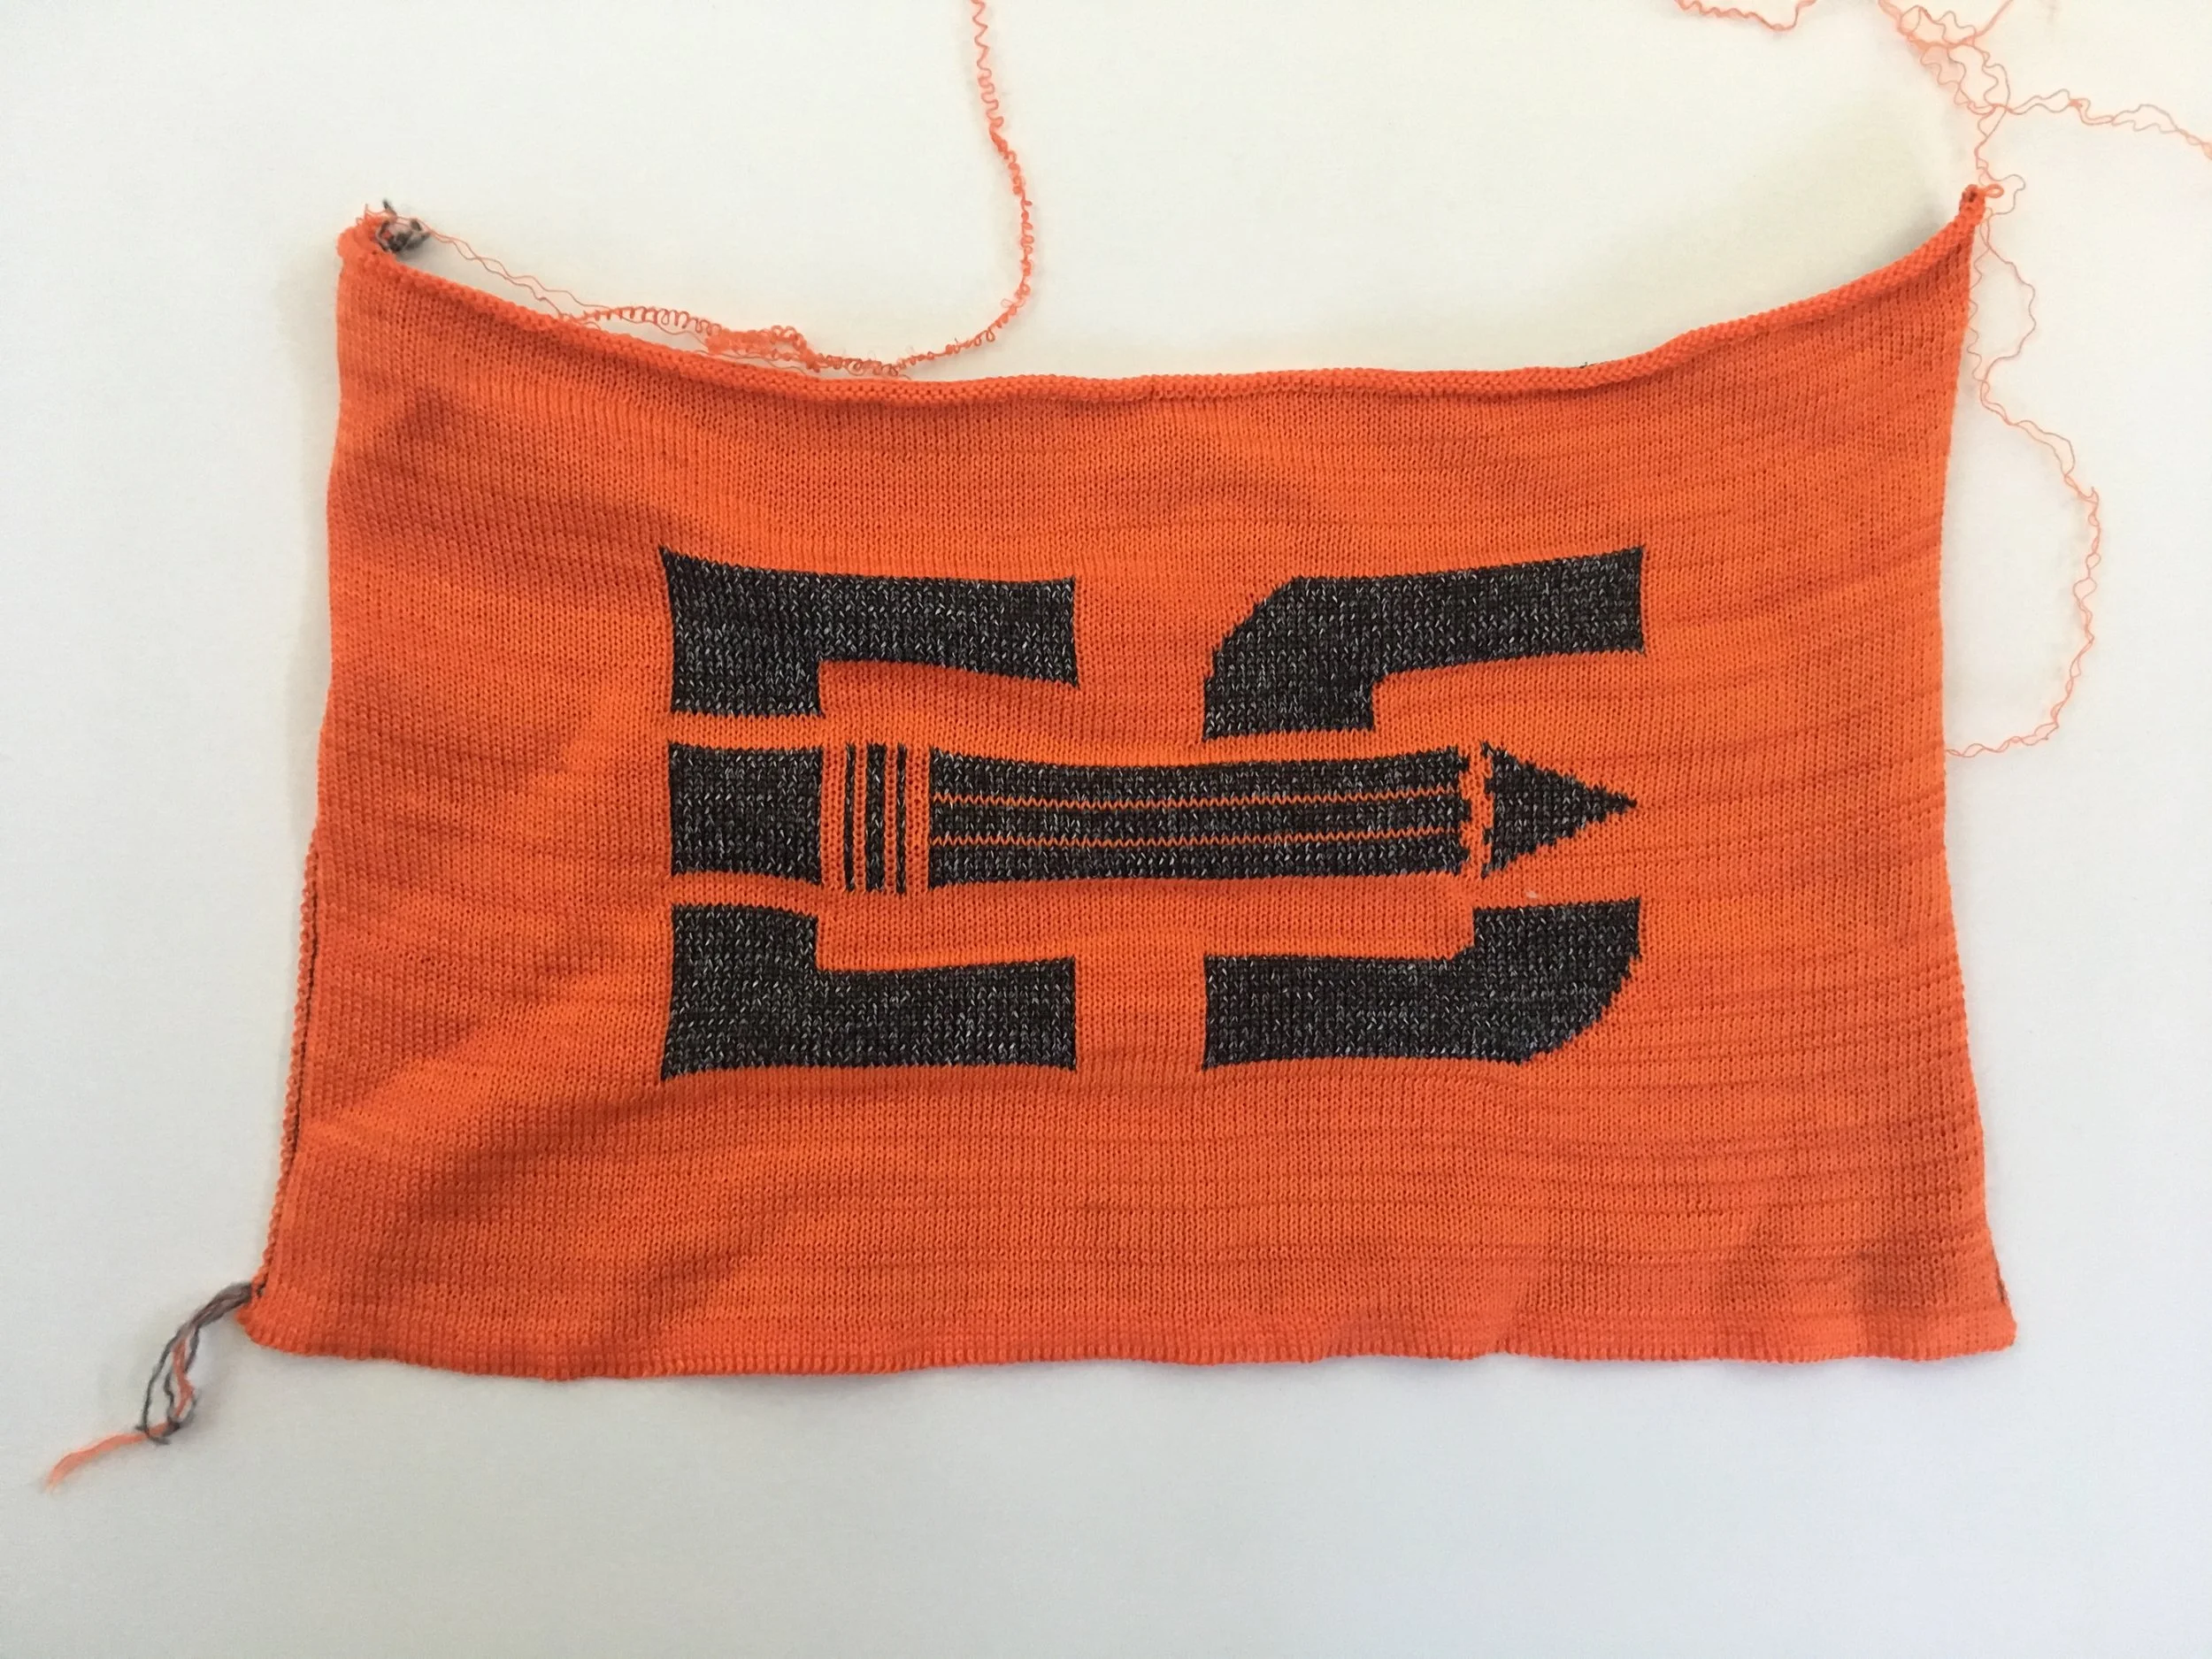
Double Knit swatch
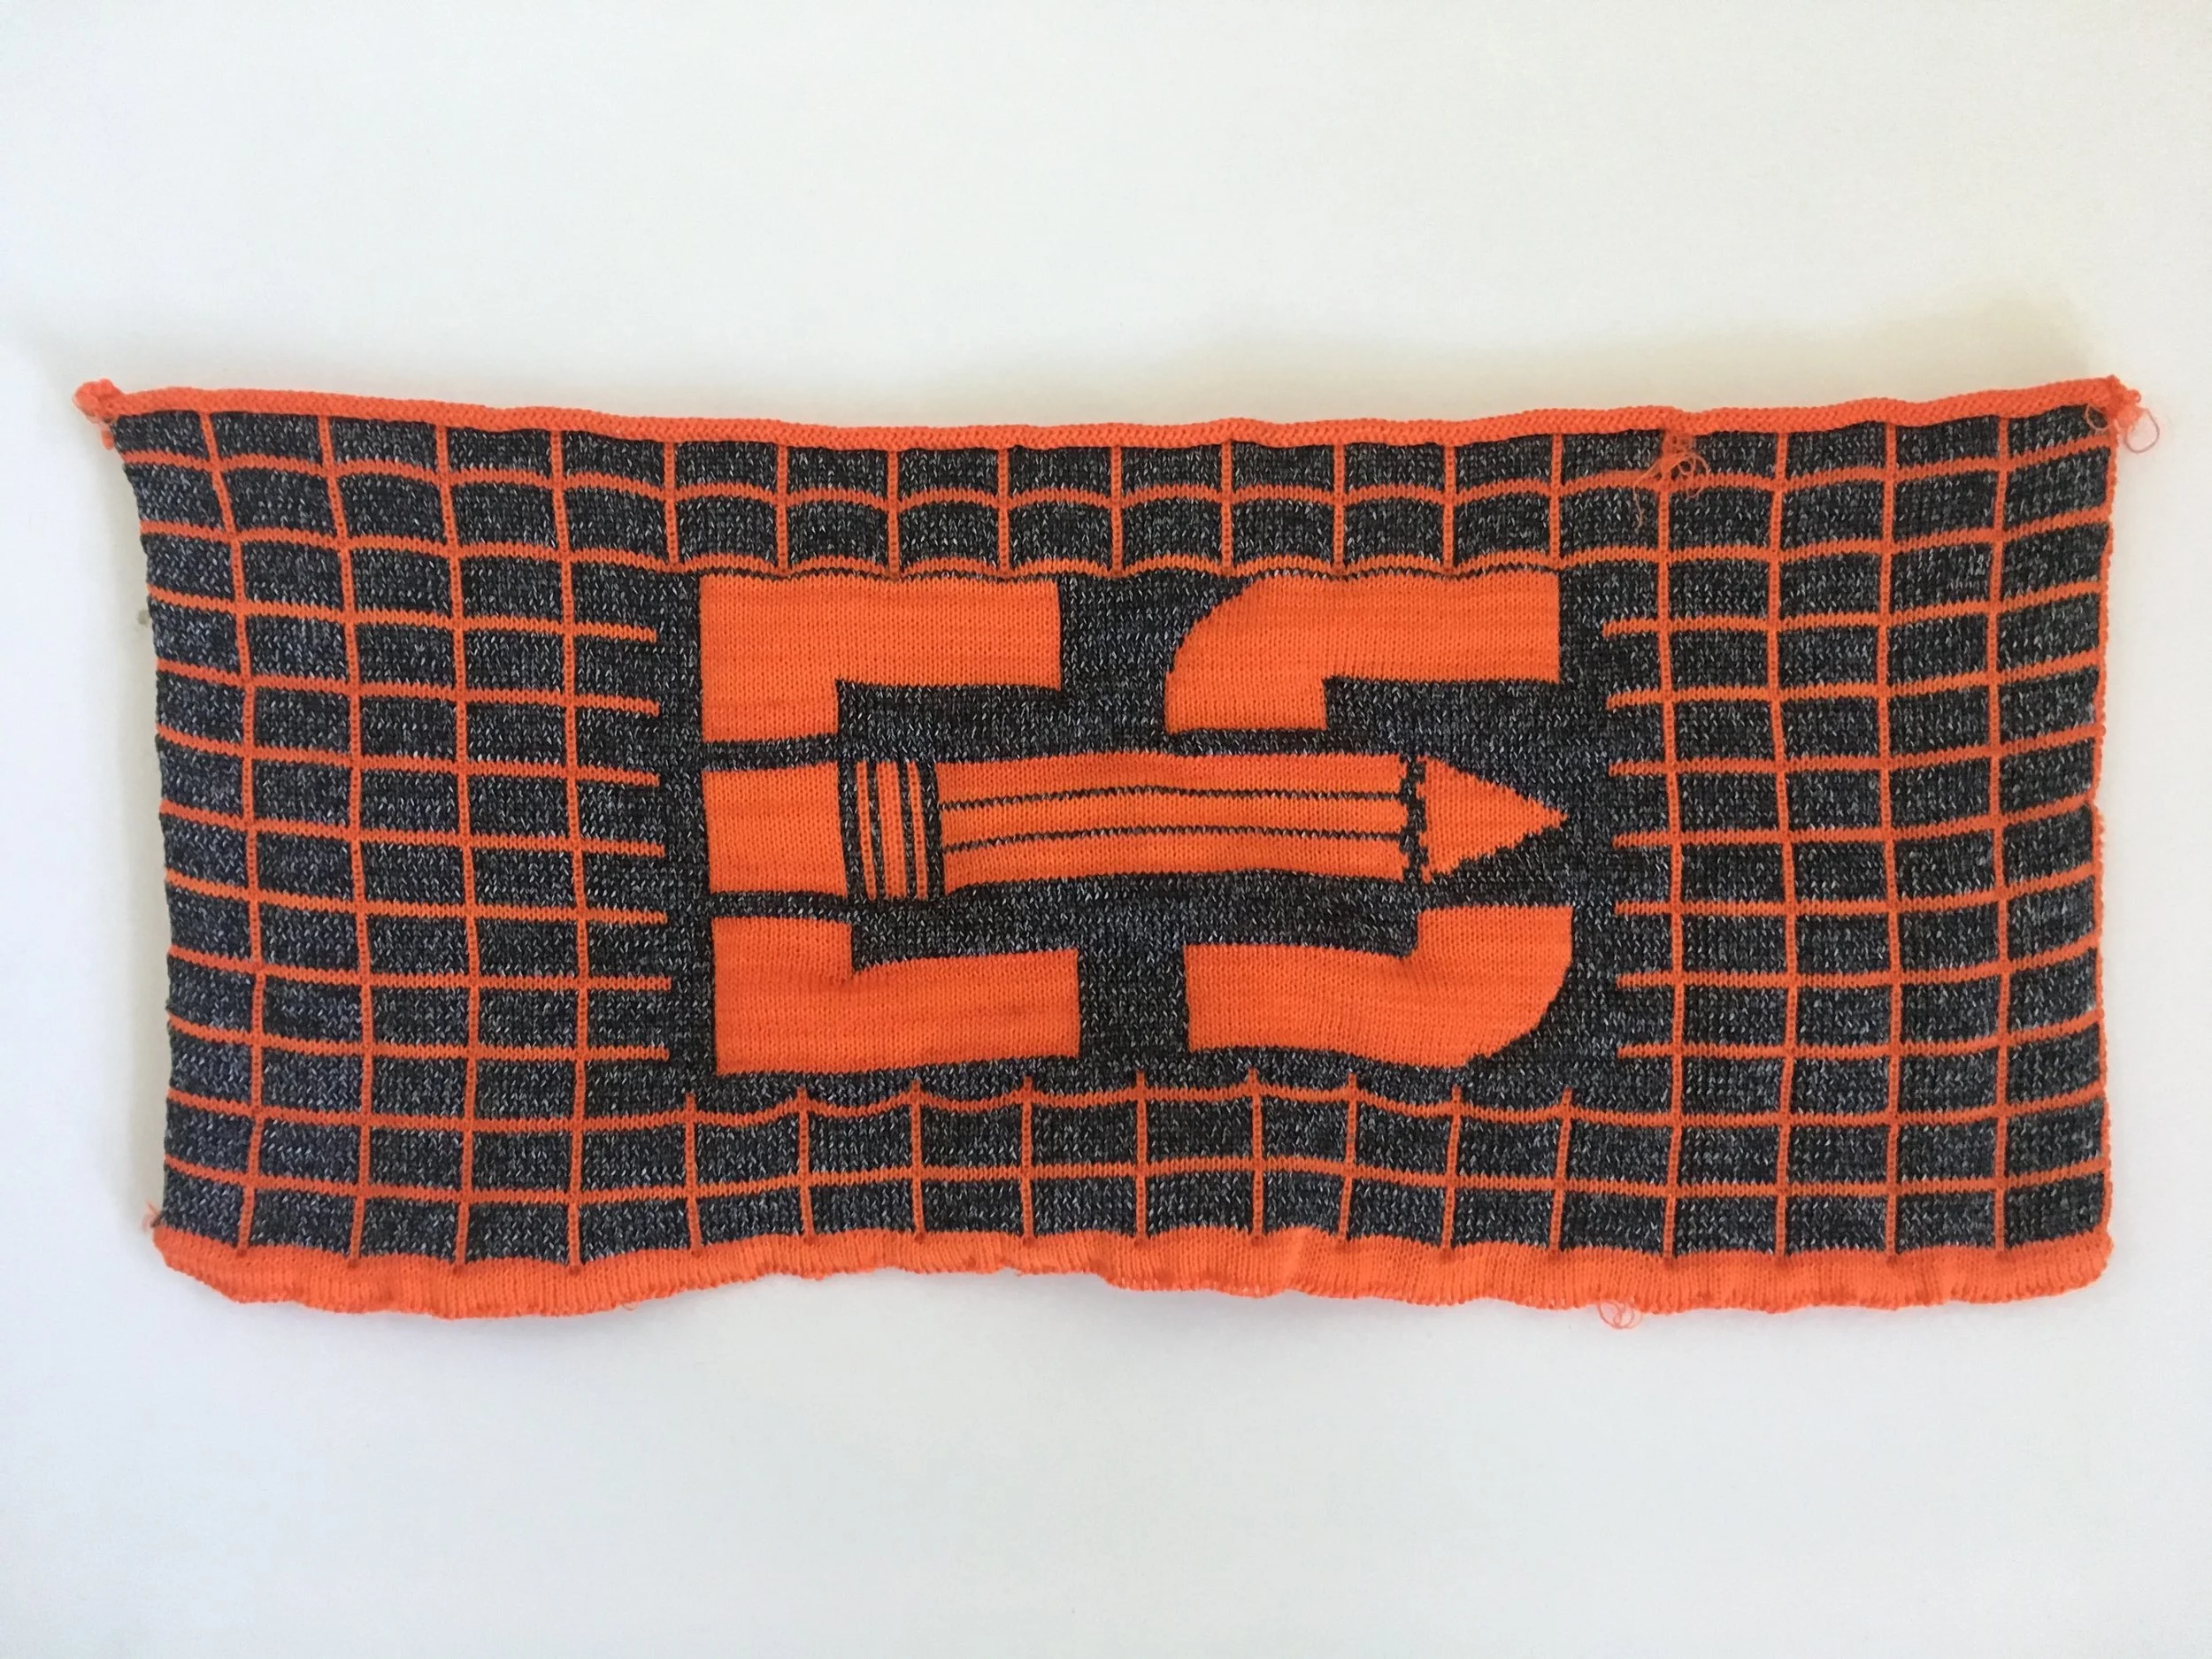
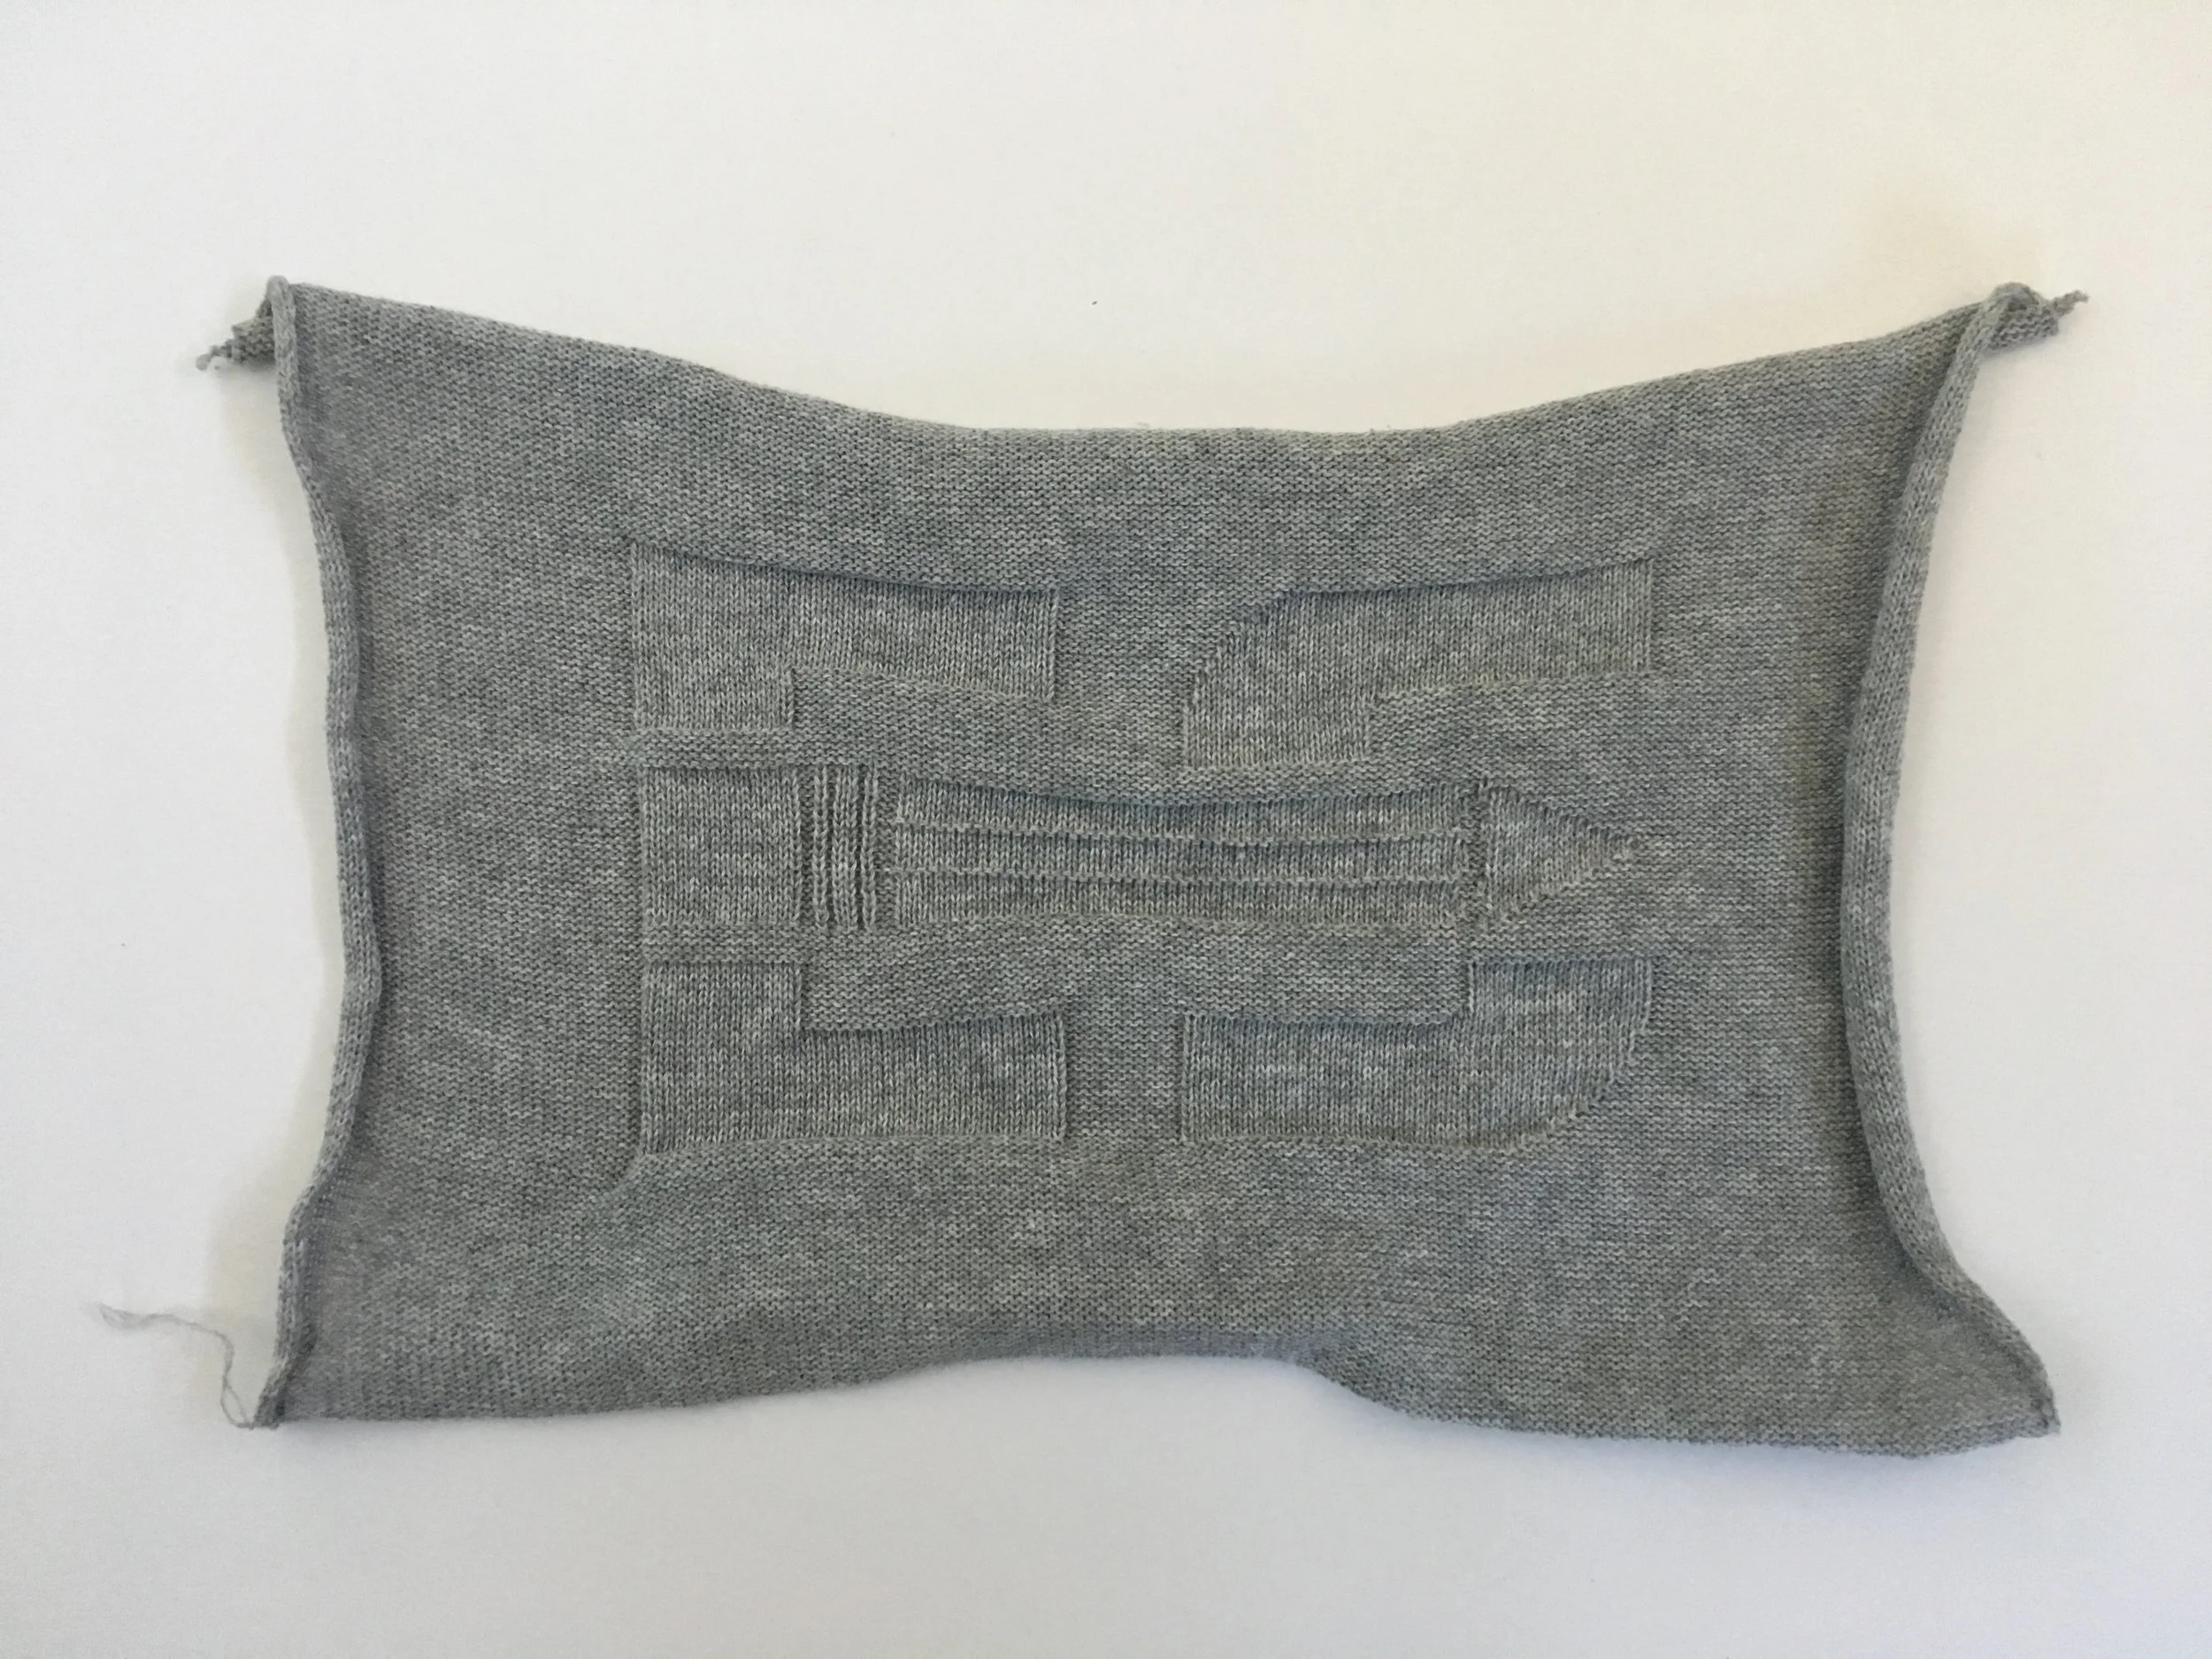
Tubular Knit Logo-Padded and thick layered textile
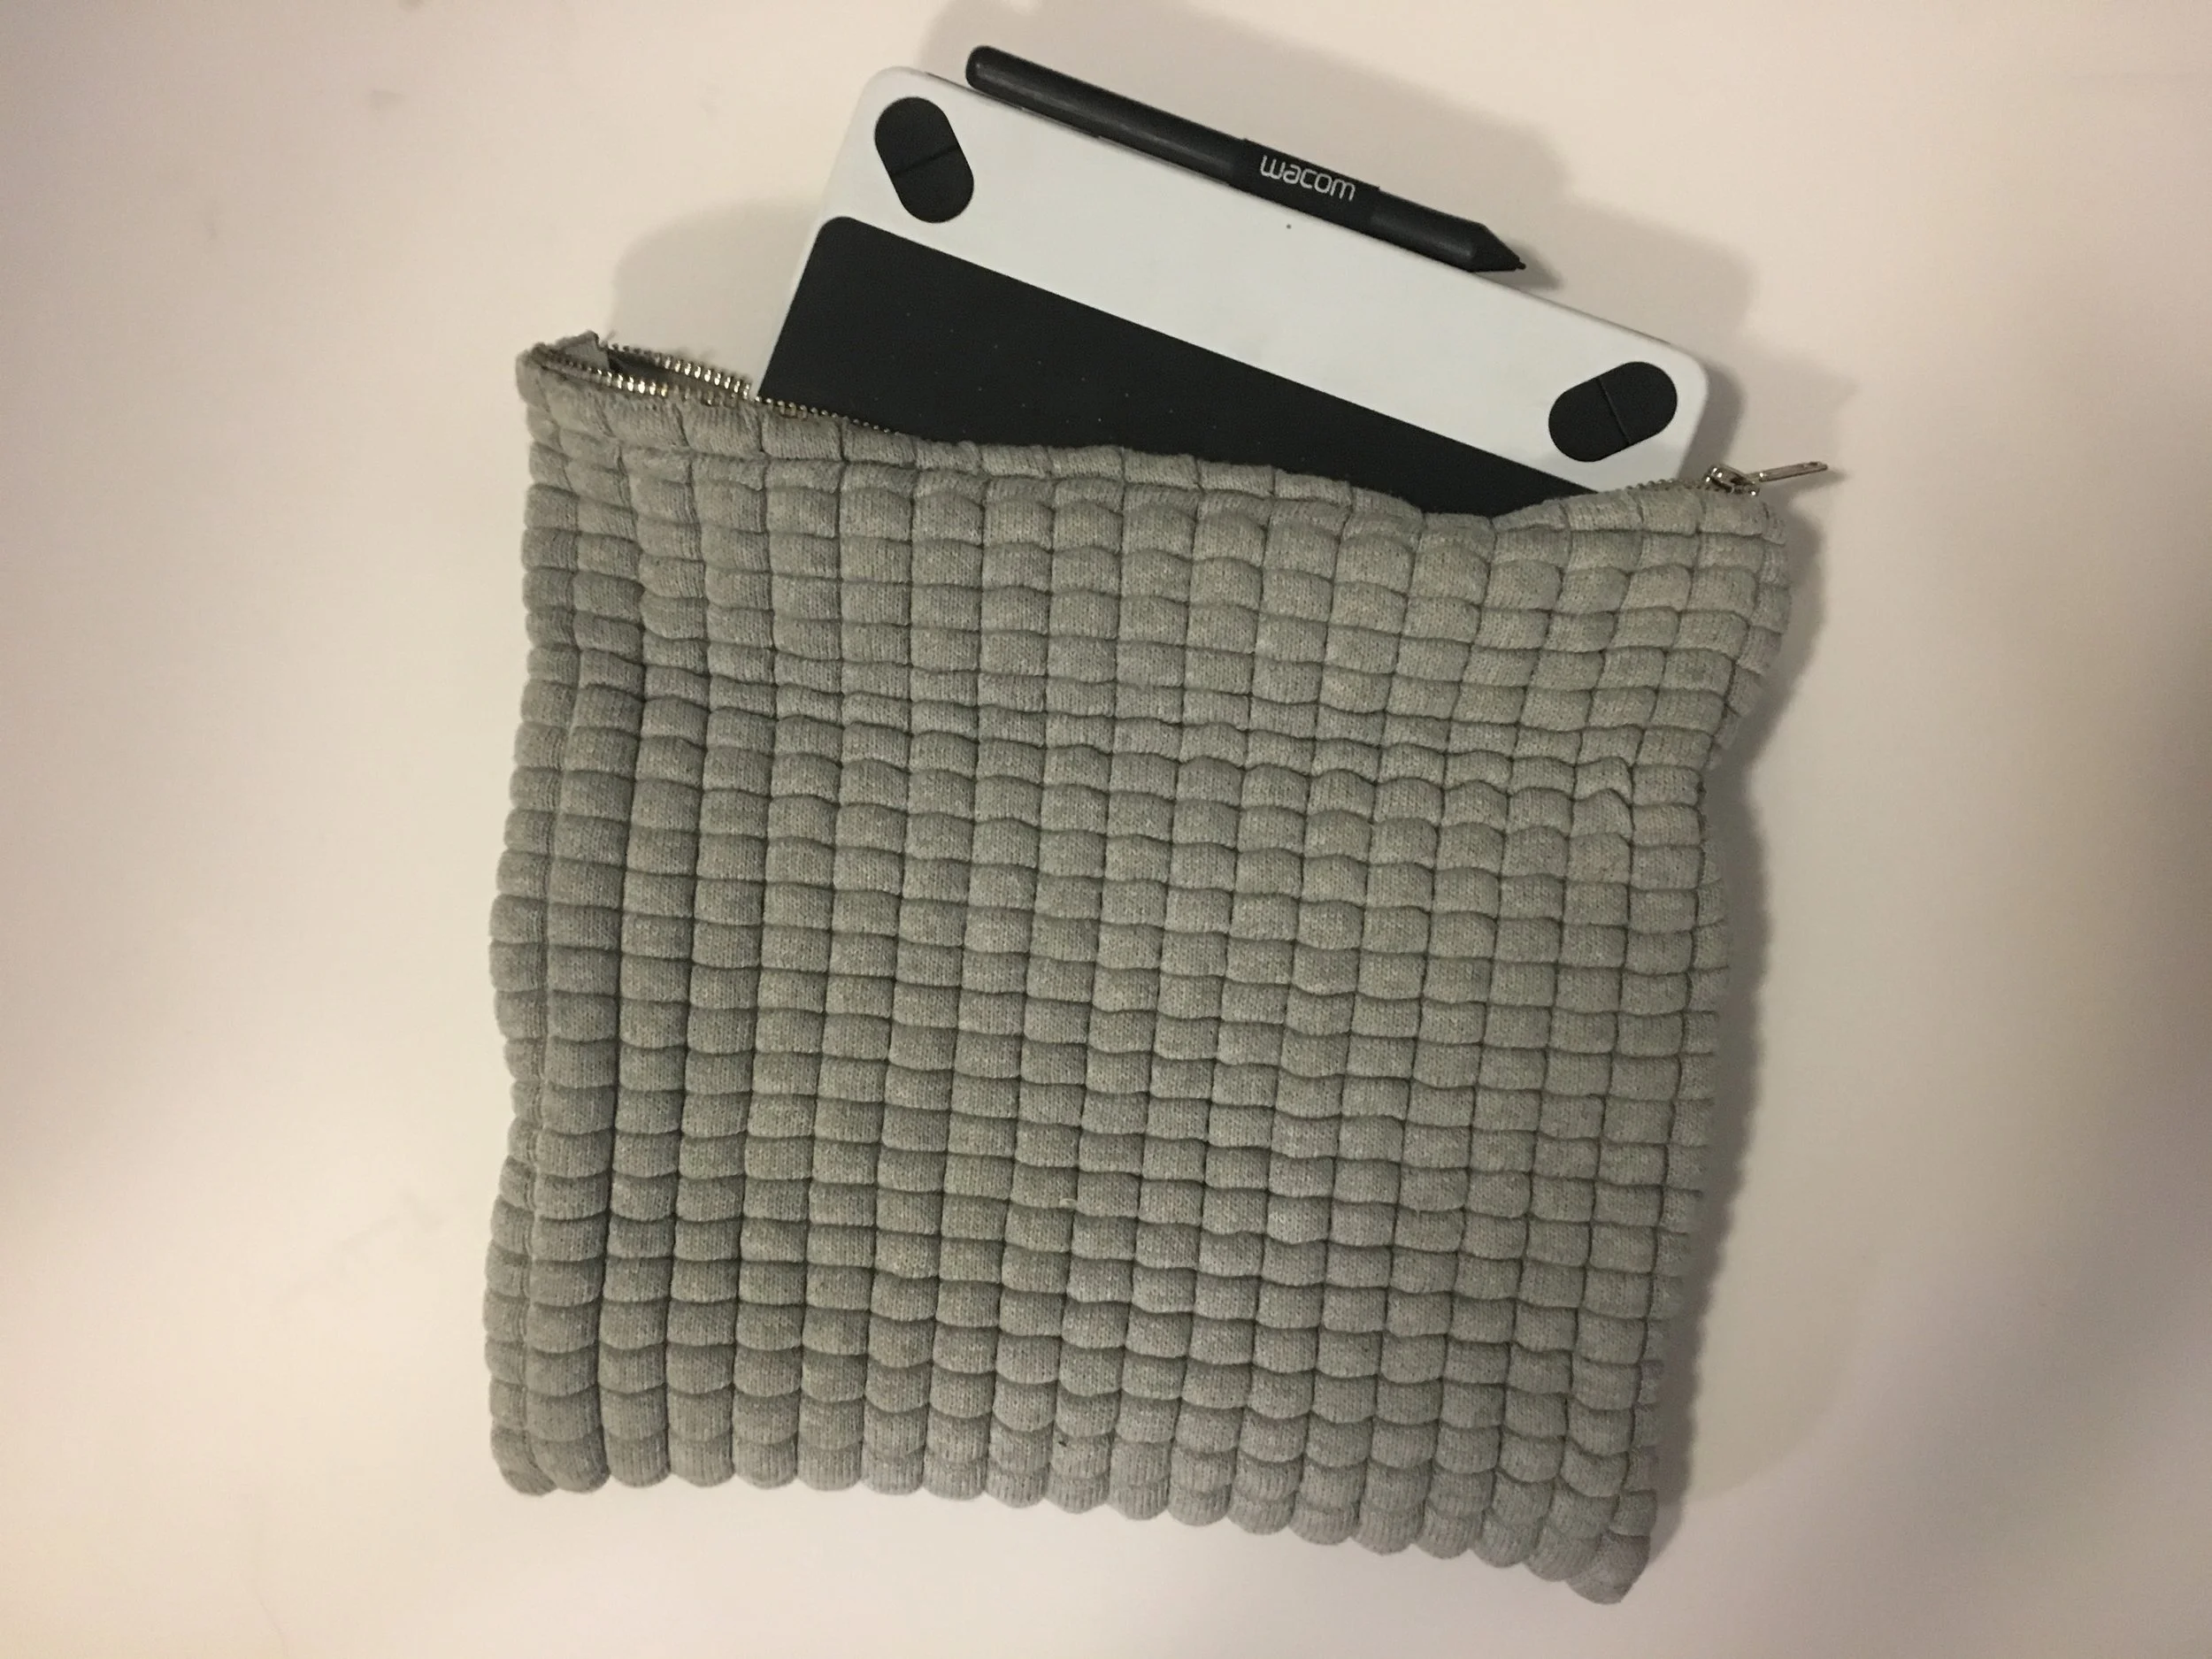
LAPTOP AND WACOM TABLET ELASTIC TUBULAR SLEEVE
I began to draft ideas of what I wanted the sleeve to look like using Illustrator, Sketchbook Pro, and Photoshop after doing pattern research. I then identified pain points of the design relating to the textiles that were used through material knowledge, and examined the practicality of its production. I took into account the shrinkage that would occur due to elastic’s condensed nature after it is steamed but also assessed the opportunities available in inlaying the sleeve with other non- malleable materials like nylon, which would make it harder to stretch. I ultimately decided on utilizing elastic for the case, as its incredibly flexible and can be double knit with a thicker inlay for a tubular stitch. I wanted to make the thickest possible sleeve to protect my tablet.
RENDERINGS


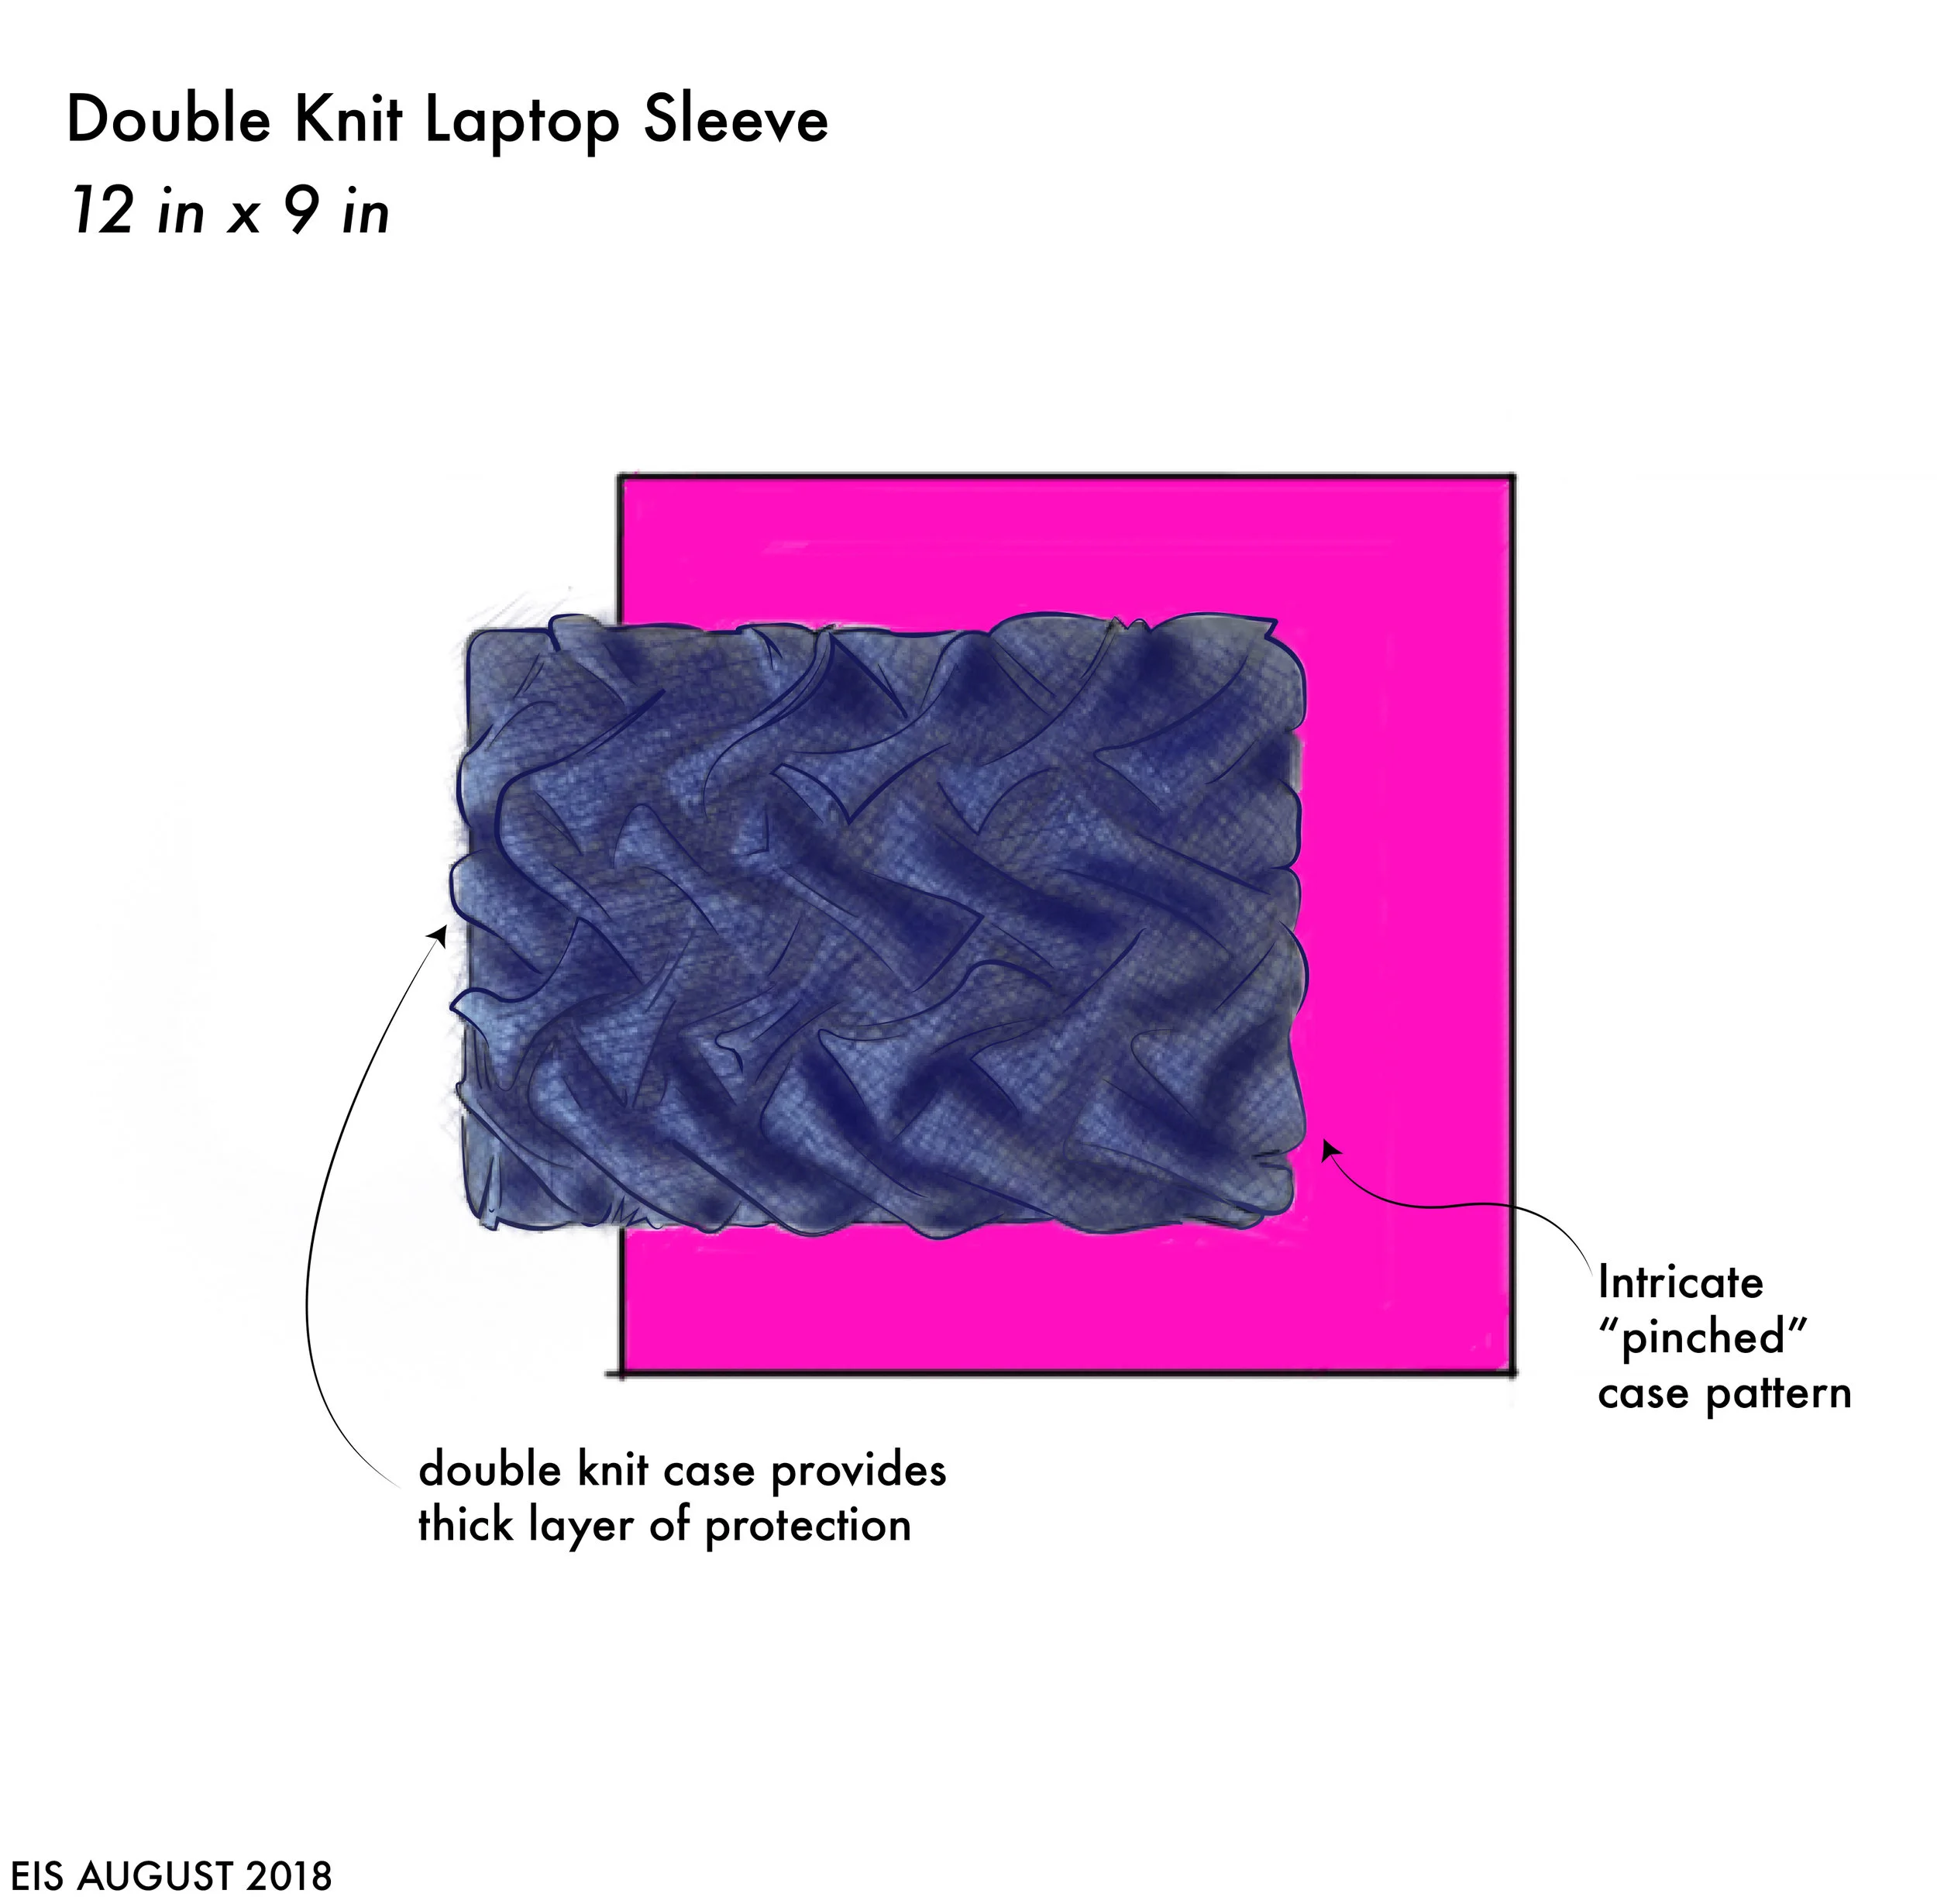
This render was by far my favorite option. I enjoyed creating a wave design that was both visually appealing but also offered function as well in terms of protection. However, in terms of practicality for production this design wouldn’t have been feasible due to the amount of needle beds on Shima’s machines.


To me, the double knit sleeve appeared to be a better option as it still offered the same amount of padding and protection I was looking for and could be knitted using both the back and front needle beds of the machine.